Journal ·
First Tattoo Tips: 15 Things to Know Before You Book
First tattoo tips from idea to healed skin: how to pick a design, size and placement, choose an artist, what happens in the chair and how to look after it.
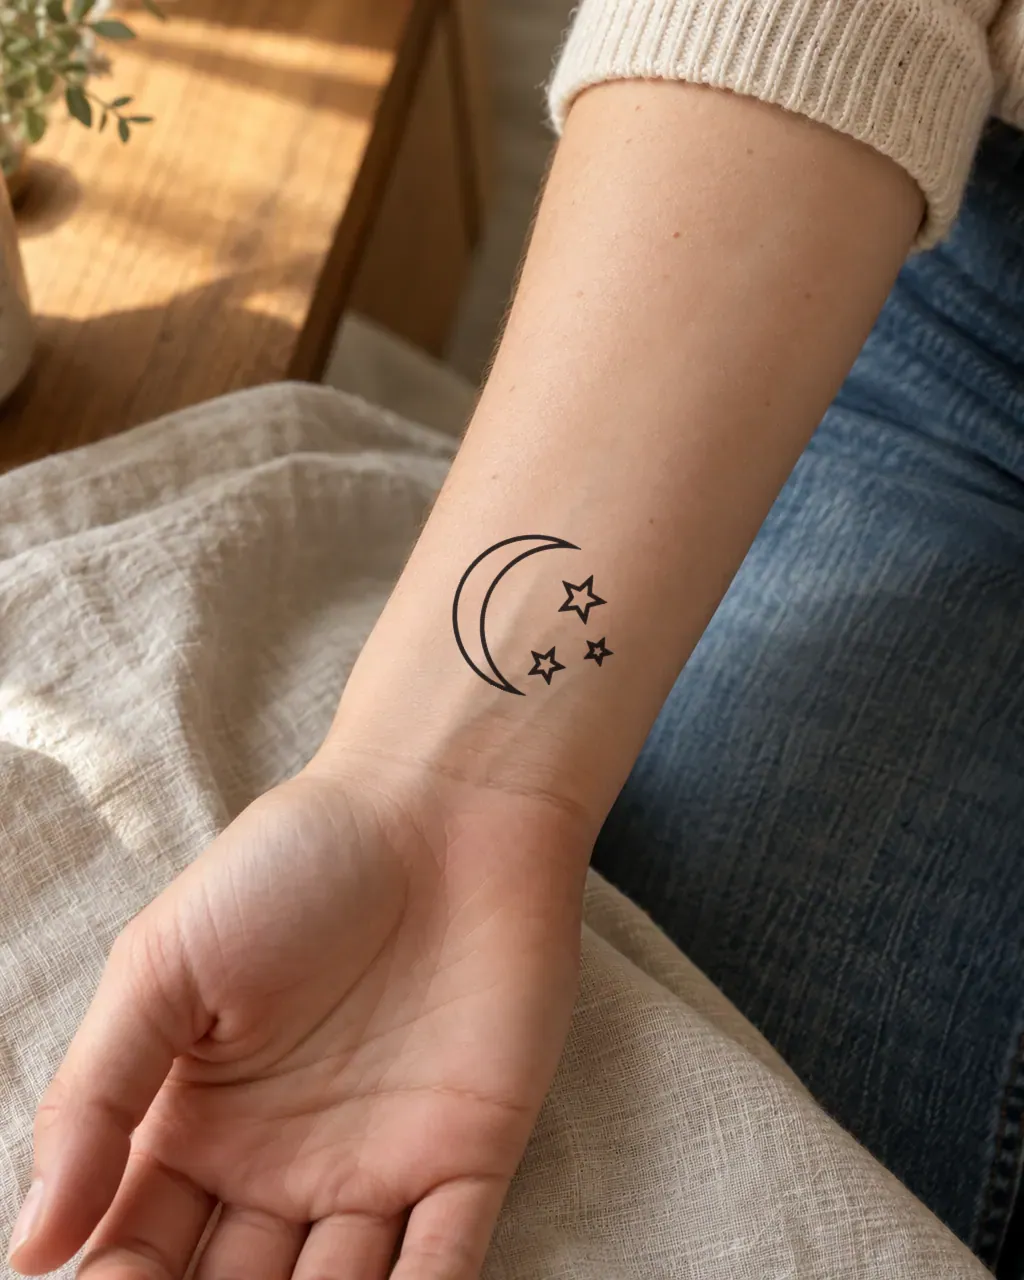
Getting your first tattoo is exciting, and a little nerve-racking. The good news: almost every regret people describe comes from a handful of avoidable mistakes. These first tattoo tips walk you through the whole journey, from the first sketch to fully healed skin, so you walk into the studio knowing exactly what you want.
First tattoo tips for choosing the design
1. Live with the idea before you commit. If you still love an idea after a few weeks, it is probably a keeper. Sketch it, save it as your phone wallpaper, and notice whether you are still excited about it. An AI tattoo generator is a quick way to see four or five versions of the same idea side by side, which makes it much easier to tell what you actually like.
2. Meaning is optional. A tattoo can mark a person, a place or a turning point, or it can simply be something you find beautiful. Both are good reasons. What matters is that the design still feels like you in ten years.
3. Size matters more than you think. Ink spreads very slightly under the skin as the years pass, so fine details packed into a small space slowly blur together. If you want a lot of detail, go bigger or simplify. Our small tattoo ideas are drawn with that in mind, and the tattoo size guide explains how big each placement can comfortably go.
4. Think about placement early. Placement changes everything: how visible the tattoo is at work, how much it hurts, and how the design moves with your body. The tattoo placement guide compares the common spots side by side. Inner forearm, outer arm, calf and upper back are popular first-tattoo choices because they are easy to cover and relatively comfortable.
5. If it includes lettering, test the font. Lettering is where most first tattoos go wrong: a font that looks elegant on screen can turn into an unreadable smudge at a small size. Preview your words in a tattoo font generator before you decide, and check that every letter still reads at the size you want.
Finding the right tattoo artist
6. Choose the artist by portfolio, not by distance. Every artist has a specialty. Someone brilliant at bold traditional work may not be the right person for delicate fine line. Learn the basic tattoo styles, then look for an artist whose healed work, not just fresh photos, matches the style you want.
7. Check hygiene and licensing. A professional studio uses single-use needles, opens them in front of you, wears fresh gloves and keeps the workstation wrapped. Many regions require a license; it should be easy to see or ask about. If anything feels off, walk away.
8. Book a consultation and bring references. Bring two or three reference images and a short note on what you like about each one. AI sketches make good references because they show composition and mood clearly, but expect your artist to redraw the design for skin. Here is how to bring an AI tattoo design to your artist without any awkwardness.
9. Budget honestly. Most studios have a shop minimum, and larger pieces are priced by the hour. Plan for a tip as well. The tattoo cost calculator gives a realistic range by size, placement and detail, so the quote does not catch you off guard.
The day of your first tattoo
10. Eat, hydrate and sleep. A proper meal and a good night's sleep make a real difference to how you feel in the chair. Skip alcohol the day before, and bring water and a snack for longer sessions.
11. Dress for the placement. Wear something that gives easy access to the area and that you do not mind getting a little ink on. For a calf tattoo, shorts or loose trousers; for an upper arm, a tank top or a loose sleeve.
12. Check the stencil carefully. Before any ink goes in, your artist places a purple stencil on your skin. This is your last chance to move it, resize it or straighten it, so look in the mirror, stand naturally and take your time. Curious how that works? Our tattoo stencil maker creates the same kind of transfer from any design.
13. Expect some discomfort, and ask for breaks. Most people describe the feeling as a hot scratch. Bony areas such as ribs, ankles and the spine tend to hurt more; fleshy areas such as the outer arm and calf usually hurt less. Breathe slowly, keep still and tell your artist when you need a pause. Breaks are completely normal.
Aftercare and healing
14. Follow your artist's aftercare instructions. Instructions vary between artists, and theirs come first. The usual basics:
- Keep the tattoo clean and wash it gently with mild, unscented soap.
- Apply a thin layer of the moisturizer your artist recommends. More is not better.
- Do not pick or scratch the flaking skin.
- Avoid swimming pools, the sea, baths and saunas until it has healed.
- Keep it out of direct sun while it heals, then use sunscreen to keep the lines crisp for years.
The surface usually heals within two to four weeks, while the deeper layers take longer to settle. If you notice spreading redness, increasing pain, swelling or fever, contact a doctor.
15. A touch-up is normal. Once it has healed, a few spots may look lighter than others. Many artists offer a free or low-cost touch-up within the first few months, so ask about their policy when you book.
Try it before you commit
The best way to avoid regret is to see the tattoo on your body first. Put the design on a photo of your arm with the tattoo simulator, or print a few temporary tattoo designs and wear one for a week. If you still love it on day seven, you are ready to book.