Guide · pain, visibility, aging
Tattoo Placement Guide
Tap a spot on the figure to compare pain, visibility and how designs age there — then try your design on it below.
Selected placement
Forearm
- Pain (1–10)
- 2–4
- Typical size
- 2–8 in
- Visibility
- Easy to show, easy to cover
- How it ages
- Holds well; sunscreen helps
Pain ranges are typical reports, not medical advice — everyone’s different.
Try it on that placement
%22%2F%3E%3Cellipse%20cx%3D%22230%22%20cy%3D%2278%22%20rx%3D%228%22%20ry%3D%2212%22%20transform%3D%22rotate(24%20230%2078)%22%2F%3E%0A%20%20%3Cellipse%20cx%3D%22204%22%20cy%3D%22104%22%20rx%3D%227%22%20ry%3D%2211%22%20transform%3D%22rotate(-20%20204%20104)%22%2F%3E%3Cellipse%20cx%3D%22226%22%20cy%3D%22108%22%20rx%3D%227%22%20ry%3D%2211%22%20transform%3D%22rotate(20%20226%20108)%22%2F%3E%0A%3C%2Fg%3E%3C%2Fsvg%3E)
Your photo stays on this device · drag, pinch or scroll the design
Preview free in your browser · download or print: 1 credit · Credits
- Areas
- 13 body areas compared
- Pain
- Shown as a range out of 10
- Try-on
- Free preview, in your browser
- Privacy
- Your photo stays on your device
Tattoo placement shapes how a design looks, how much it hurts and who sees it. Compare 13 body areas by pain, visibility and aging below, then try your design on a photo of the spot you’re considering – right in your browser.
No. 01
How the tattoo placement guide works
Pick a shortlist from the guide, then test it. Seeing your actual design on your actual arm, ankle or back answers questions a chart can’t.
- 1. Shortlist areas
- Use the pain chart below to narrow it down to two or three spots that fit your design and comfort level.
- 2. Photograph each spot
- Take a clear, well-lit photo of each area and load it into the try-on tool. The photo stays on your device.
- 3. Place and compare
- Drag, resize and rotate the design on each photo, switch to the healed look and download a before & after for each option.
No. 02
Tattoo placement pain chart
Pain is personal and depends on your body, the design and the length of the session, so treat these as typical ranges rather than promises. As a rule, fleshy, muscular areas hurt less; thin skin over bone, tendons or dense nerves hurts more.
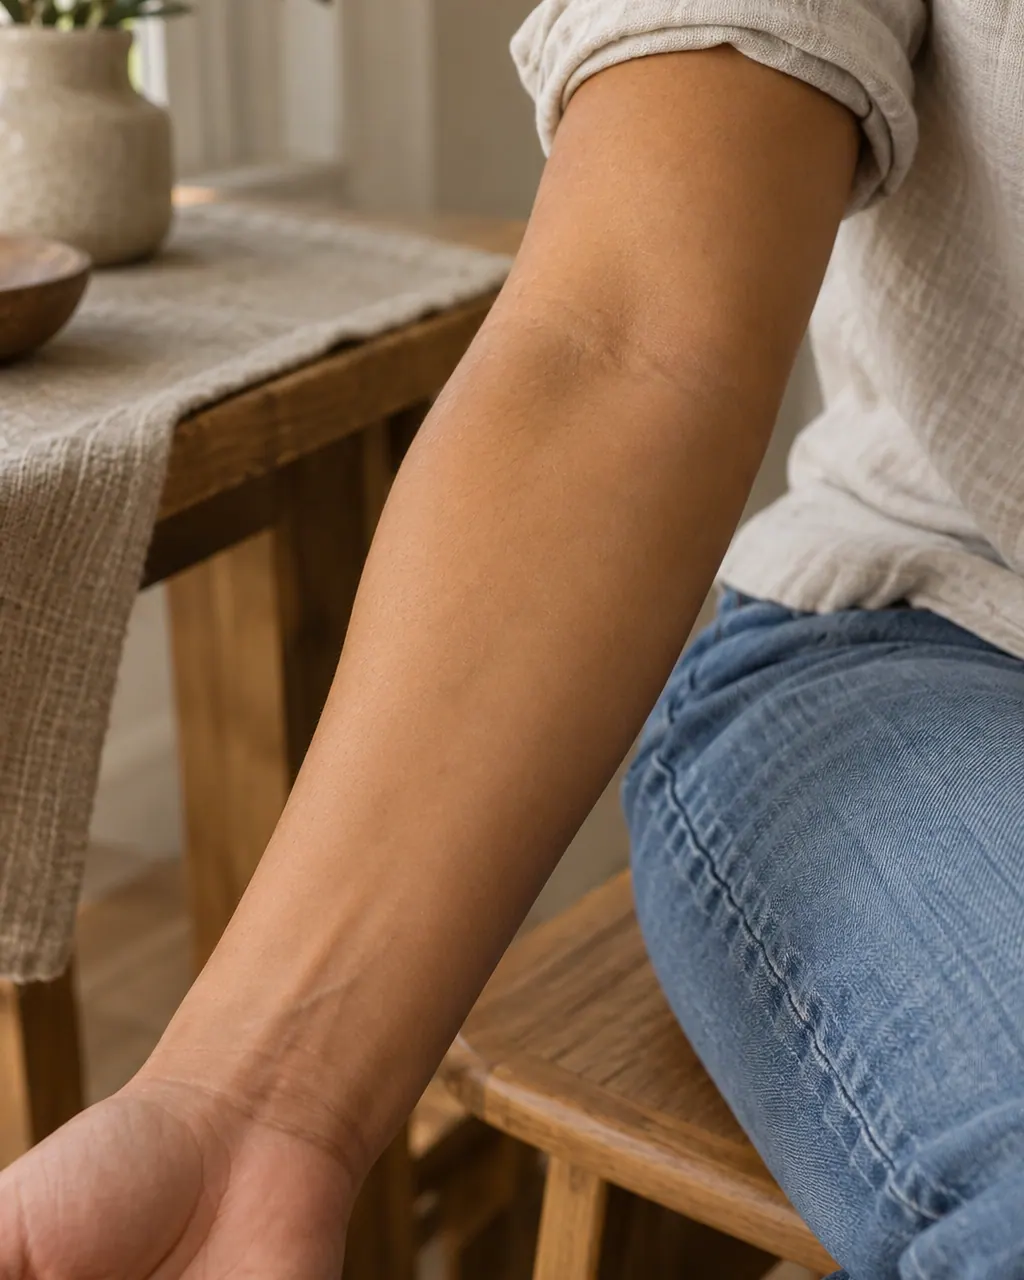
- Forearm
- Pain 2–4 of 10 on the outer side, a little more inside and near the elbow. Highly visible in short sleeves, easy to cover with long ones. Ages well and suits vertical designs and lettering.
- Upper arm
- Pain 2–4 on the outer arm; the inner arm is noticeably more sensitive. Easy to show or hide, and a forgiving spot for a first tattoo.
- Shoulder
- Pain 3–5, higher over the bone at the top. Hidden by most tops. Good for round compositions and pieces that may grow into a sleeve.
- Calf
- Pain 3–5, more toward the shin and the back of the knee. Visible in shorts and skirts. A long, even canvas that ages well.
- Thigh
- Pain 3–5 on the front and outer thigh, more on the inner side. Usually covered, with plenty of room for large, detailed work.
- Wrist
- Pain 4–6, with thin skin over tendons and bone. Very visible and hard to hide. Keep designs simple, and expect watches and bracelets to rub while it heals.
- Back
- Pain 4–6 on the upper back and shoulder blades, higher along the spine. Hidden day to day and the largest canvas on the body – though you’ll rarely see it yourself.
- Ankle
- Pain 5–7, with little padding over the bone. Visible in summer. Shoes and socks rub during healing, so plan the timing around that.
- Chest
- Pain 6–8, sharpest on the sternum and collarbones. Covered by most shirts. Suits wide, symmetrical designs.
- Neck
- Pain 6–8; the back of the neck is milder than the sides and front. Very hard to cover, and some artists only take neck work from clients who already have other tattoos.
- Hand
- Pain 6–8 over the knuckles and bones. Always on show. Hands are used and washed constantly, so tattoos here fade faster and often need touch-ups.
- Finger
- Pain 5–7, but over quickly because the area is small. Finger tattoos are among the fastest to fade and blur, so keep them bold and simple.
- Ribs
- Pain 7–9, with thin skin over bone, and breathing moves the canvas. Hidden by clothing. Suits flowing designs, but expect a tough session.
No. 03
Match the design to the body area
Every area has a natural shape. The forearm and calf favor tall, vertical compositions; the chest and upper back favor wide, symmetrical ones; the ankle and wrist favor small designs or horizontal wraps. When you pick a placement in the AI tattoo generator, it composes the design for that shape – a vertical layout for a forearm, a compact one for a wrist.
Detail needs space. A design with fine shading or small lettering needs enough size to stay readable as the ink settles, so a detailed piece may belong on the thigh or upper arm rather than the wrist.
No. 04
How to choose where your tattoo goes
Your artist will have opinions on placement too, and they’re worth hearing – they see how designs age on different areas every day. Before that conversation, work through these four questions:
- Decide on visibility
- Think about work, family and the clothes you wear most. Some areas are always on show; others are only seen when you choose.
- Be honest about pain
- For a first tattoo, a lower-pain area such as the outer forearm, upper arm or thigh makes the experience easier.
- Check daily life
- Sun, sports, tight clothing and shoes all affect healing and how a tattoo ages.
- Test before you book
- Try the design on a photo, wear a temporary version for a few days and ask your artist to place the stencil before they start.
No. 05
How placement affects the way a tattoo ages
Skin varies across the body, and so does what it goes through. Areas that get constant friction or washing, such as hands, fingers and feet, lose crispness fastest. Areas that see a lot of sun fade sooner, which is why sunscreen on a healed tattoo makes such a difference. Skin that stretches with weight changes or muscle growth – the stomach, ribs and upper arms – can distort a design over time.
The steadiest spots are the outer arm, shoulder, upper back, thigh and calf: thicker skin, less friction and easy to protect.
FAQ
Tattoo Placement Guide FAQ
What’s the least painful place to get a tattoo?
Fleshy, muscular areas with fewer nerve endings: the outer forearm, outer upper arm, outer thigh and calf usually sit around 2–5 out of 10. Pain is personal, though, and a long session on an easy area can still be tiring. Rest well, eat beforehand and take breaks when you need them.
What’s the most painful tattoo placement?
Areas where skin is thin over bone or full of nerves: the ribs, sternum, spine, hands, feet, ankles, knees and the inner arm near the armpit. The ribs often top the list because breathing moves the skin. Shorter sessions and a steady, experienced artist make these spots more manageable.
Where should I get my first tattoo?
Somewhere that’s low in pain, easy to heal and easy to show or hide – the outer forearm, upper arm, shoulder, thigh or calf. These areas also hold detail well and give you room to add more later. Try your design on a photo of each spot before deciding.
Which placements fade fastest?
Hands, fingers and feet, because the skin there is used, washed and rubbed constantly. Areas with lots of sun exposure fade faster too. Bold lines and simple designs hold up best in these spots, and a touch-up after healing is common. Sunscreen helps every tattoo last longer.
How do I know what size fits a placement?
Measure the area with a soft tape, then try the design on a photo of that exact spot and resize it until it looks balanced, with some skin around it. Your artist may suggest going bigger if the design has fine detail, so it stays readable over the years.
Does placement change the price?
Often, yes. Stretchy, bony or curved areas such as the ribs, hands, fingers and neck take longer to tattoo, and time drives price. Our cost calculator adds extra time for harder placements – up to about 30% for the ribs and fingers – on top of size, detail and color.
Is the placement try-on private?
Yes. The photos you use stay on your device: they’re loaded into the page and blended with your design in the browser, and the before & after download is created there too. Nothing is uploaded to our servers, so you can comfortably use photos of any area.
Need a design first?
Describe your idea and get four original tattoo sketches in seconds — then turn the one you love into a stencil.