Free preview · your photo stays on your device
Tattoo Simulator & Virtual Try On
Upload a photo of your arm, wrist or calf, drop in a design, then drag, size and rotate it until it feels right.
%22%2F%3E%3Cellipse%20cx%3D%22230%22%20cy%3D%2278%22%20rx%3D%228%22%20ry%3D%2212%22%20transform%3D%22rotate(24%20230%2078)%22%2F%3E%0A%20%20%3Cellipse%20cx%3D%22204%22%20cy%3D%22104%22%20rx%3D%227%22%20ry%3D%2211%22%20transform%3D%22rotate(-20%20204%20104)%22%2F%3E%3Cellipse%20cx%3D%22226%22%20cy%3D%22108%22%20rx%3D%227%22%20ry%3D%2211%22%20transform%3D%22rotate(20%20226%20108)%22%2F%3E%0A%3C%2Fg%3E%3C%2Fsvg%3E)
Your photo stays on this device · drag, pinch or scroll the design
Preview free in your browser · download or print: 1 credit · Credits
- Price
- Preview free · download 1 credit
- Runs
- In your browser – no app to install
- Output
- Before & after download (JPG)
- Privacy
- Your photo stays on your device
Use this tattoo simulator to see a design on your own skin before you book. Upload a photo of your arm, wrist or ankle, drop in any design, then drag, resize and rotate it – your photo stays on your device the whole time.
No. 01
How the tattoo simulator works
The simulator blends your design into the photo with a multiply effect, which behaves like ink under skin: texture, freckles and lighting show through the lines instead of the design floating on top like a sticker. It works with any photo and any design image, and nothing is uploaded at any point.
- 1. Add your photo
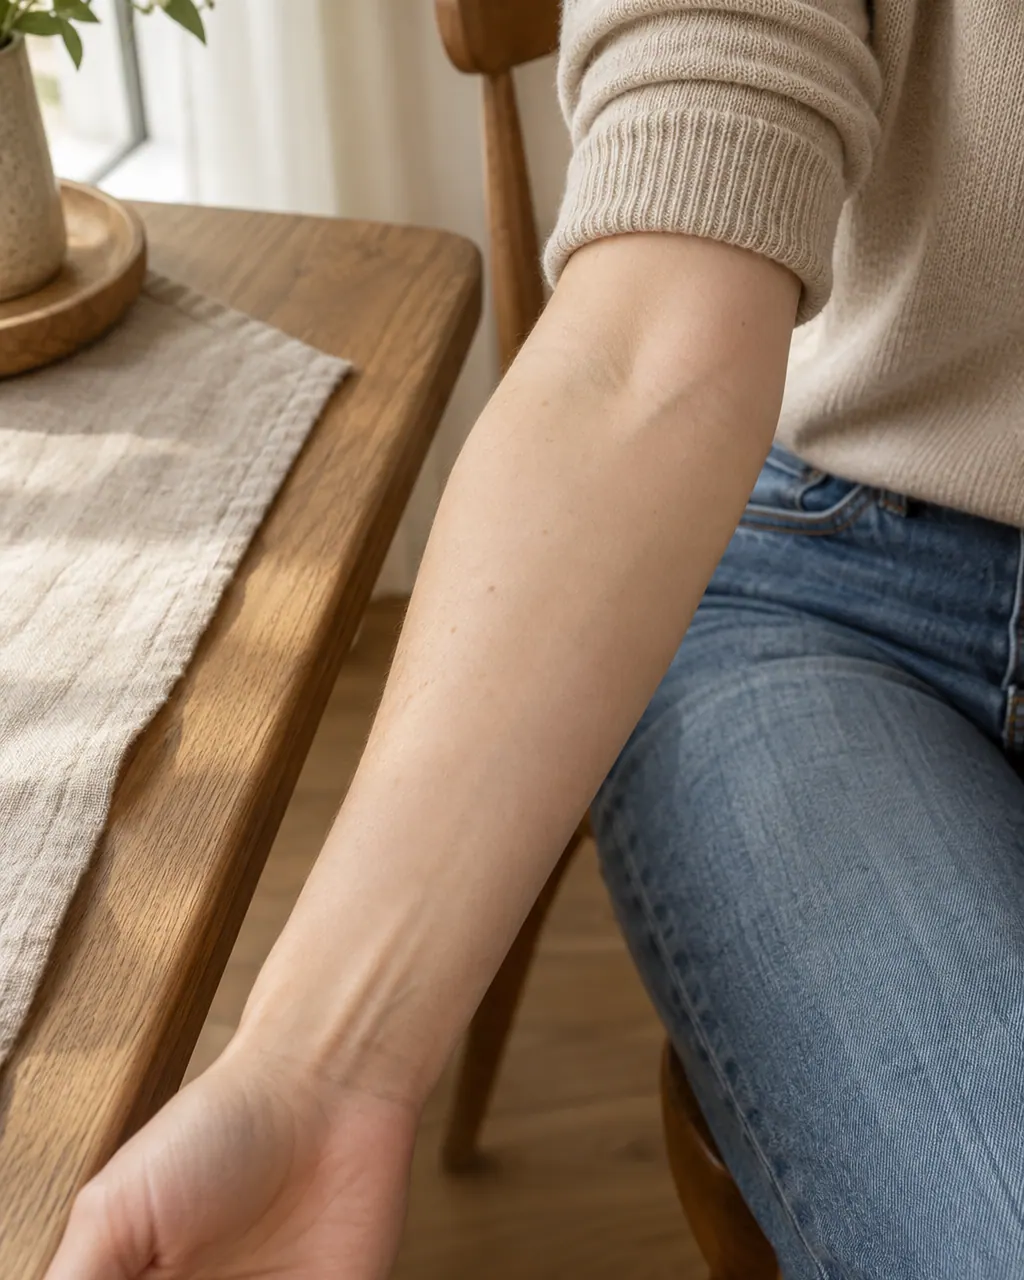
- Upload a clear photo of your forearm, wrist, ankle or calf, or use a sample photo to try the controls first.
- 2. Choose a design
- Pick a sample or upload your own. Dark linework on a white background blends best.
- 3. Fit and compare
- Drag to move, pinch or scroll to resize, twist or use the slider to rotate, then download a before & after.
No. 02
Virtual tattoo try on with your own photo
Three looks help you picture the whole journey. Stencil shows the purple transfer lines your artist places first. Fresh adds the slight redness of a brand-new tattoo. Healed softens the ink a touch, closer to how it looks once it has settled. Switch between them with one tap.
The ink strength slider runs from 30% to 100%, so you can match the design to your skin tone or preview a lighter, more delicate look. Press and hold the compare button to see your bare skin, then let go to bring the tattoo back. If you lose track of the design, Reset position puts it back in the center.
The looks apply live, so you can switch between them while you move or resize the design – a quick way to compare the purple stencil with the healed result at exactly the same size and angle.
No. 03
Try on tattoo designs before you commit
A design that looks right on a screen can feel too big on a wrist or too small on a calf. Use the simulator to answer the questions that matter before you book. For lettering, check that the words still read at the size you chose – small text that looks fine zoomed in can be unreadable from a normal distance. Prefer the keyboard? Select the design and use the arrow keys to nudge it, plus and minus to resize and R to rotate.
- Size
- Does it fit the width of the wrist or the length of the forearm, with a little skin around it?
- Direction
- Should it read toward you or toward other people? Rotate it and look at both options.
- Flow
- Does it follow the line of the arm or leg, or fight against it?
- Distance
- Look at the photo from arm’s length. Fine details that vanish there will blur on skin, too.
- Neighbors
- Will it sit well next to tattoos you already have, and leave room for the next one?
- Wardrobe
- Is it visible with the clothes you usually wear, or hidden when you want it to be?
No. 04
How to take a good photo for try-on
The preview is only as good as the photo underneath it. A few minutes of setup makes the result far more convincing.
- Use soft daylight
- Face a window instead of using flash. Even light keeps shadows from hiding the design.
- Shoot straight on
- Hold the camera level with the body part so the skin isn’t stretched by perspective.
- Fill the frame
- Let the arm, wrist or ankle take up most of the photo, with a plain background behind it.
- Relax the pose
- Keep muscles natural, the way you’ll usually see the tattoo, and take off watches and bracelets.
- Take a few angles
- Inner and outer forearm, or the front and side of the ankle, so you can compare positions.
- Add a size reference
- A ruler or tape measure lying along the skin helps you judge real-world size when you scale the design.
No. 05
Tattoo on photo: what a 2D preview can show
A tattoo on a photo is a flat preview. It’s excellent for judging size, position, orientation and overall look, and it’s quick to try ten variations in a row. What it can’t do is wrap the design around the curve of an arm the way real ink bends with the body, or predict exactly how colors will heal on your skin. Screen brightness changes how colors look, too, so judge color designs on more than one screen if you can.
For curved areas, two extra checks help. Print a temporary tattoo of the design and wear it for a few days, and ask your artist to place the stencil and let you look in the mirror before they start. Artists expect that step – it’s the final fitting.
No. 06
From preview to appointment
When it looks right, download the before & after image. It puts your original photo next to the preview, ready to send to your artist with your first message.
Still need the design itself? Create one with the AI tattoo generator, letter a name with the font generator or turn a finished design into a printable stencil – then come back and try it on. Planning the budget as well? The cost calculator estimates price, hours and sessions for the size you just tested.
FAQ
Tattoo Simulator & Virtual Try On FAQ
Is the tattoo try-on free?
Previewing is free with no sign-up: upload as many photos and designs as you like and switch between the stencil, fresh and healed looks. Downloading the before & after (or the try-on alone) costs 1 credit per image.
Is my photo uploaded anywhere?
No. Your photo is loaded straight into the page and stays on your device. The preview and the before & after download are both created in your browser, so nothing is sent to our servers. Close the tab and the photo is gone.
Do I need to install an app?
No. The simulator runs in modern browsers on phones, tablets and computers. On a touchscreen, drag with one finger and pinch or twist with two to resize and rotate. On a computer, drag with the mouse, scroll to resize and use the rotation slider. There’s nothing to download or update.
Can I try on my own design?
Yes. Upload any image as the design. It works best with dark lines on a white or transparent background, because white areas disappear into the skin and dark areas become ink. Designs from the AI generator, lettering from the font generator and stencils all work well.
What do stencil, fresh and healed mean?
They’re three looks for the same design. Stencil shows purple transfer lines, like the guide your artist applies before tattooing. Fresh adds a hint of redness, like a tattoo on the day it’s done. Healed shows softer, settled ink – the closest to how it will look long term.
How accurate is the preview?
It’s accurate for size, placement and overall impression, as long as your photo is clear and taken straight on. It’s a flat image, though, so it can’t show how a design wraps around a curved limb or exactly how colors heal. Use it to decide, then confirm with a stencil on skin.
Can I send the preview to my tattoo artist?
Yes. Download before & after saves one image with your original photo on the left and the tattoo preview on the right. It’s an easy way to show your artist the size and position you have in mind before the consultation.
Need a design first?
Describe your idea and get four original tattoo sketches in seconds — then turn the one you love into a stencil.